

Most patients see major improvement within 1 to 2 weeks after a laser frenectomy, with the tissue continuing to remodel for several weeks after that. The single most important thing you can do is stick to your provider’s aftercare plan and the stretching routine they give you, since skipping stretches raises the risk of the tissue reattaching. Call your clinician if you notice heavy bleeding, fever, rising swelling, or any trouble feeding or breathing.
TL;DR:
- Sticking to the provider’s aftercare plan and performing prescribed stretches is crucial to prevent tissue reattachment during recovery.
- The first three days involve managing swelling, soreness, and mild oozing, with bleeding usually controlled by gentle pressure and avoiding suction.
- Most significant improvements occur within two weeks, but continued stretching and follow-up therapy help retain functional gains beyond that period.
- Signs of complications include persistent bleeding, worsening swelling, fever, or trouble feeding or breathing, requiring immediate medical attention.
- Proper support from healthcare professionals, including follow-up visits and allied therapy, enhances long-term functional outcomes after a frenectomy.
Table of Contents
- Laser Frenectomy Recovery Timeline: Hours to Weeks
- Post-Frenectomy Care: Your First 72 Hours and Beyond
- Managing Pain and Feeding After a Frenectomy
- How to Do Frenectomy Stretches Without Undoing the Progress
- Normal Healing Signs vs. Warning Signs
- Why Follow-Up Visits and Allied Therapy Matter
- Recovery Support at Bay Area Dental, Airway & Sleep
- Sources
Laser Frenectomy Recovery Timeline: Hours to Weeks
The first few hours are mostly about numbness. Bleeding is usually minimal, sometimes just a bit of oozing, and laser techniques tend to cause less bleeding and tissue trauma than scissor frenectomies, which is part of why laser recovery often feels easier than people expect. For infants, most clinicians recommend feeding right away, both to soothe the baby and to help slow any bleeding.
Days 1 through 3 tend to bring the most soreness, and that is normal. A white or yellowish layer forms over the wound during this window. It looks alarming to a lot of parents the first time they see it, but it is simply how the site heals, not a sign of infection.
By days 4 through 14, most people notice real progress. Soreness fades, swelling drops, and feeding or speech function starts to feel more natural. This is usually the stretch where the clinic-reported “major improvement within 1 to 2 weeks” benchmark holds true for most patients.
Weeks 2 through 6 are less about the wound and more about the muscle. The tissue continues to soften, range of motion keeps expanding, and consistent stretching (or supervised exercises) is what locks in those functional gains rather than letting the site tighten back up.
Post-Frenectomy Care: Your First 72 Hours and Beyond
The first three days set the tone for the whole healing process. Get these basics right and everything after tends to go smoother.
- If there is any bleeding, apply gentle pressure with clean gauze and avoid straws, which create suction that can disturb the site.
- Wait until numbness fully wears off before offering food or drink, and skip anything hot until sensation returns to normal.
- Stick to soft, cool, or room temperature foods for the first few days. Babies can usually breastfeed or bottle feed right away; older kids and adults should avoid spicy, acidic, or crunchy foods until the site has visibly closed.
- Keep the mouth clean but be gentle. Saltwater rinses are fine for older children and adults a few hours after the procedure, but hold off on regular brushing directly over the site for a day or two.
- Resume normal toothbrushing once your provider gives the go ahead, usually within a few days.
Pro Tip: Keep a small stash of frozen items on hand, ice chips for lip releases and frozen milk or formula “chips” for lingual releases in infants. Cold does double duty here: it numbs the area and calms a fussy patient at the same time.
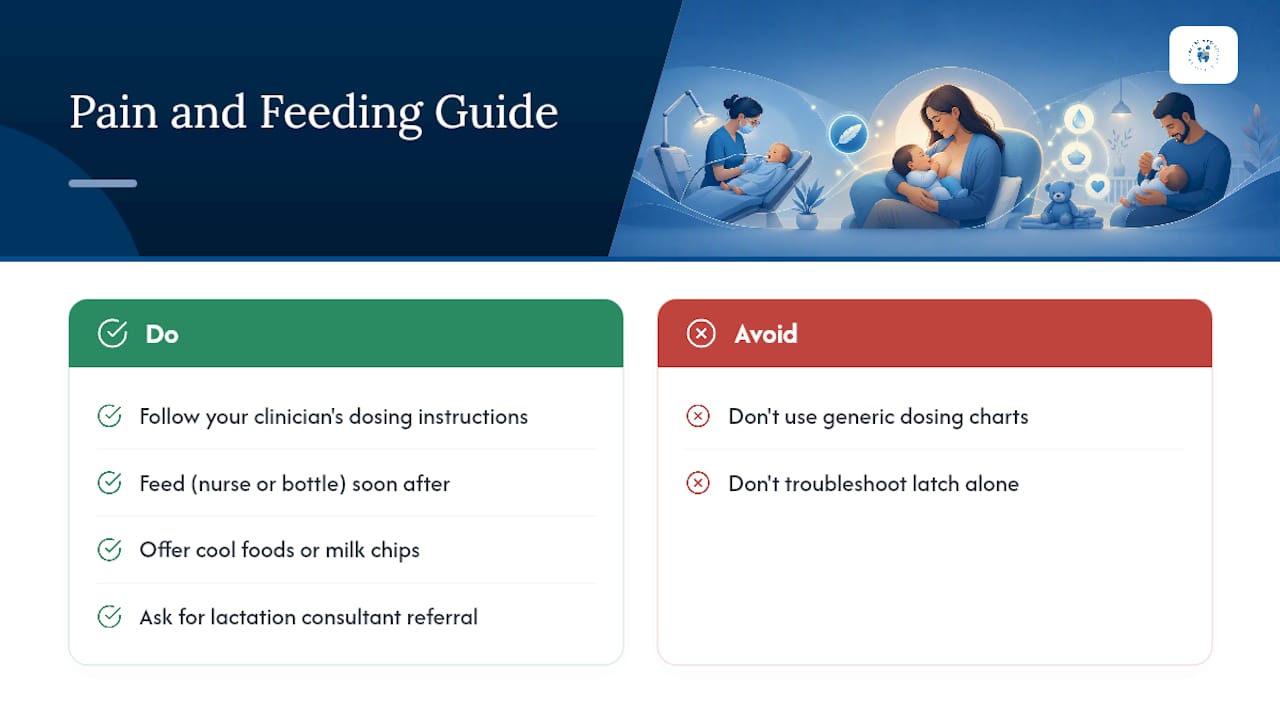
For pain, follow your provider’s specific dosing instructions for acetaminophen or ibuprofen rather than guessing based on a bottle label. Every clinician’s protocol is a little different depending on age and the extent of the release.
Managing Pain and Feeding After a Frenectomy
Pain after a laser frenectomy is usually mild, more of a lingering soreness than sharp discomfort, and most patients manage it with over the counter medication dosed exactly as their provider recommends. Do not substitute a generic dosing chart for what your clinician actually tells you, especially with infants.
Feeding is where a lot of parents get nervous, but clinics commonly recommend nursing or bottle feeding soon after the procedure because it calms the baby and helps reduce bleeding at the same time. Cool foods and milk chips numb the mouth for older infants starting solids.
If breastfeeding still feels difficult after the release, that is not unusual, and it does not mean something went wrong. A lactation consultant can help retrain the latch, and some families use a temporary bottle or supplemental nursing system while that gets sorted out. Ask your clinician for a referral rather than troubleshooting alone.
How to Do Frenectomy Stretches Without Undoing the Progress
Stretches exist for one reason: to keep the wound from healing back together the way it was before. The Cleveland Clinic notes that the evidence behind stretching is not strong, but most clinicians still prescribe it because reattachment is common enough to take seriously, and the exercises also help the tongue or lip relearn movement it never had before.
- Lift and hold. For tongue stretches, gently lift the tip toward the roof of the mouth using a clean finger, holding for a few seconds without forcing the range.
- Sweep the diamond shape. Run a finger along the healed area in the shape prescribed by your provider, usually a quick, light sweep rather than deep pressure.
- Lip stretches. Lift the upper lip gently to check that the site is not sticking back down, holding briefly before releasing.
- Repeat on schedule. Most post-op instructions call for three to six repetitions daily for the first two to four weeks, tapering as the site fully closes.
Pro Tip: Wash your hands before every stretch and keep sessions short. A quick, consistent routine beats one long, aggressive session that leaves everyone in tears.
If function is not improving despite consistent stretching, a myofunctional therapist or speech language pathologist can supervise more targeted exercises, especially for older children and adults relearning tongue posture from scratch.
Normal Healing Signs vs. Warning Signs
That white or yellow patch covering the wound is not a scab in the traditional sense. It is a normal part of healing, and multiple clinic instructions describe this “wet scab” appearance as expected, not a sign of infection. Slight oozing right after stretches is also normal.
What is not normal: bleeding that will not stop with gentle pressure, swelling that keeps getting worse instead of better, a fever, or any sign of trouble feeding or breathing. Those warrant a call to your clinic right away, and severe bleeding or breathing difficulty is worth an urgent care or ER visit rather than waiting for a callback.
Why Follow-Up Visits and Allied Therapy Matter
Healing the tissue is only half the job. The other half is teaching the tongue or lip to move in ways it physically could not before. That is why follow-up appointments, often within one to three weeks, are standard practice: they let your provider check the site and gauge whether feeding or speech is actually improving, not just whether the wound looks fine.
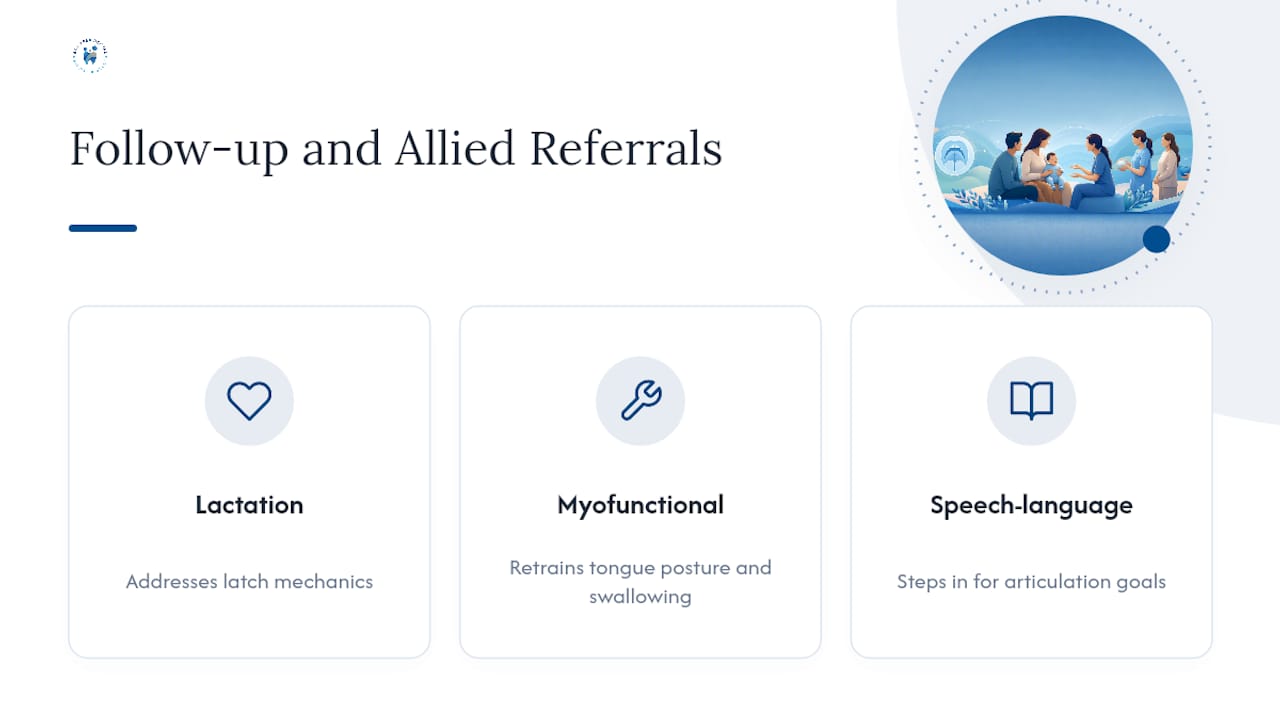
This is also when referrals happen. A lactation consultant addresses latch mechanics, a myofunctional therapist retrains tongue posture and swallowing patterns, and a speech language pathologist steps in when articulation is the goal. None of these replace the release itself, but they often determine whether the functional improvement sticks.
— Admin
Recovery Support at Bay Area Dental, Airway & Sleep
You do not have to piece together aftercare instructions from a printout and hope for the best. Some clinics performing laser frenectomy releases for infants, children, and adults pair the procedure with personalized aftercare guidance and referrals to myofunctional therapy when ongoing exercises will help lock in results.

When you schedule with a dental practice, you may receive a stretching schedule, realistic expectations for your specific case, and a contact line for support if healing does not look the way it should. Some providers offer tailored communication support for Deaf patients to help ensure aftercare instructions are understood. If you are weighing a tongue tie or lip tie release for your child or yourself, schedule a consultation with Bay Area Dental, Airway & Sleep to talk through the procedure and what your recovery would actually look like.
This article is general information, not a substitute for advice from a qualified doctor. Consult a qualified healthcare professional about your own circumstances before acting on anything here.